I've been wanting to visit my fave salon again to get my nails done but the last time I was there, my hands and feet made me wish I just stayed home and …
 I've been wanting to visit my fave salon again to get my nails done but the last time I was there, my hands and feet made me wish I just stayed home and slept. Not only did I trip on the way out and ruined my newly painted toenails, I also got nasty cuts in almost 10 fingers that it was impossible to play the piano without grimacing. Yes, it was that baaaad. Apparently, the manicurist got carried away removing some cuticle that she also included a teeny weeny part of the dermis. Major OUCH.
So to save myself from this kind of pain and money (nail art costs 500pesos = roughly $10), I decided to just do it myself.
Here goes nothing! hihi! :)
I've been wanting to visit my fave salon again to get my nails done but the last time I was there, my hands and feet made me wish I just stayed home and slept. Not only did I trip on the way out and ruined my newly painted toenails, I also got nasty cuts in almost 10 fingers that it was impossible to play the piano without grimacing. Yes, it was that baaaad. Apparently, the manicurist got carried away removing some cuticle that she also included a teeny weeny part of the dermis. Major OUCH.
So to save myself from this kind of pain and money (nail art costs 500pesos = roughly $10), I decided to just do it myself.
Here goes nothing! hihi! :)
First things first.
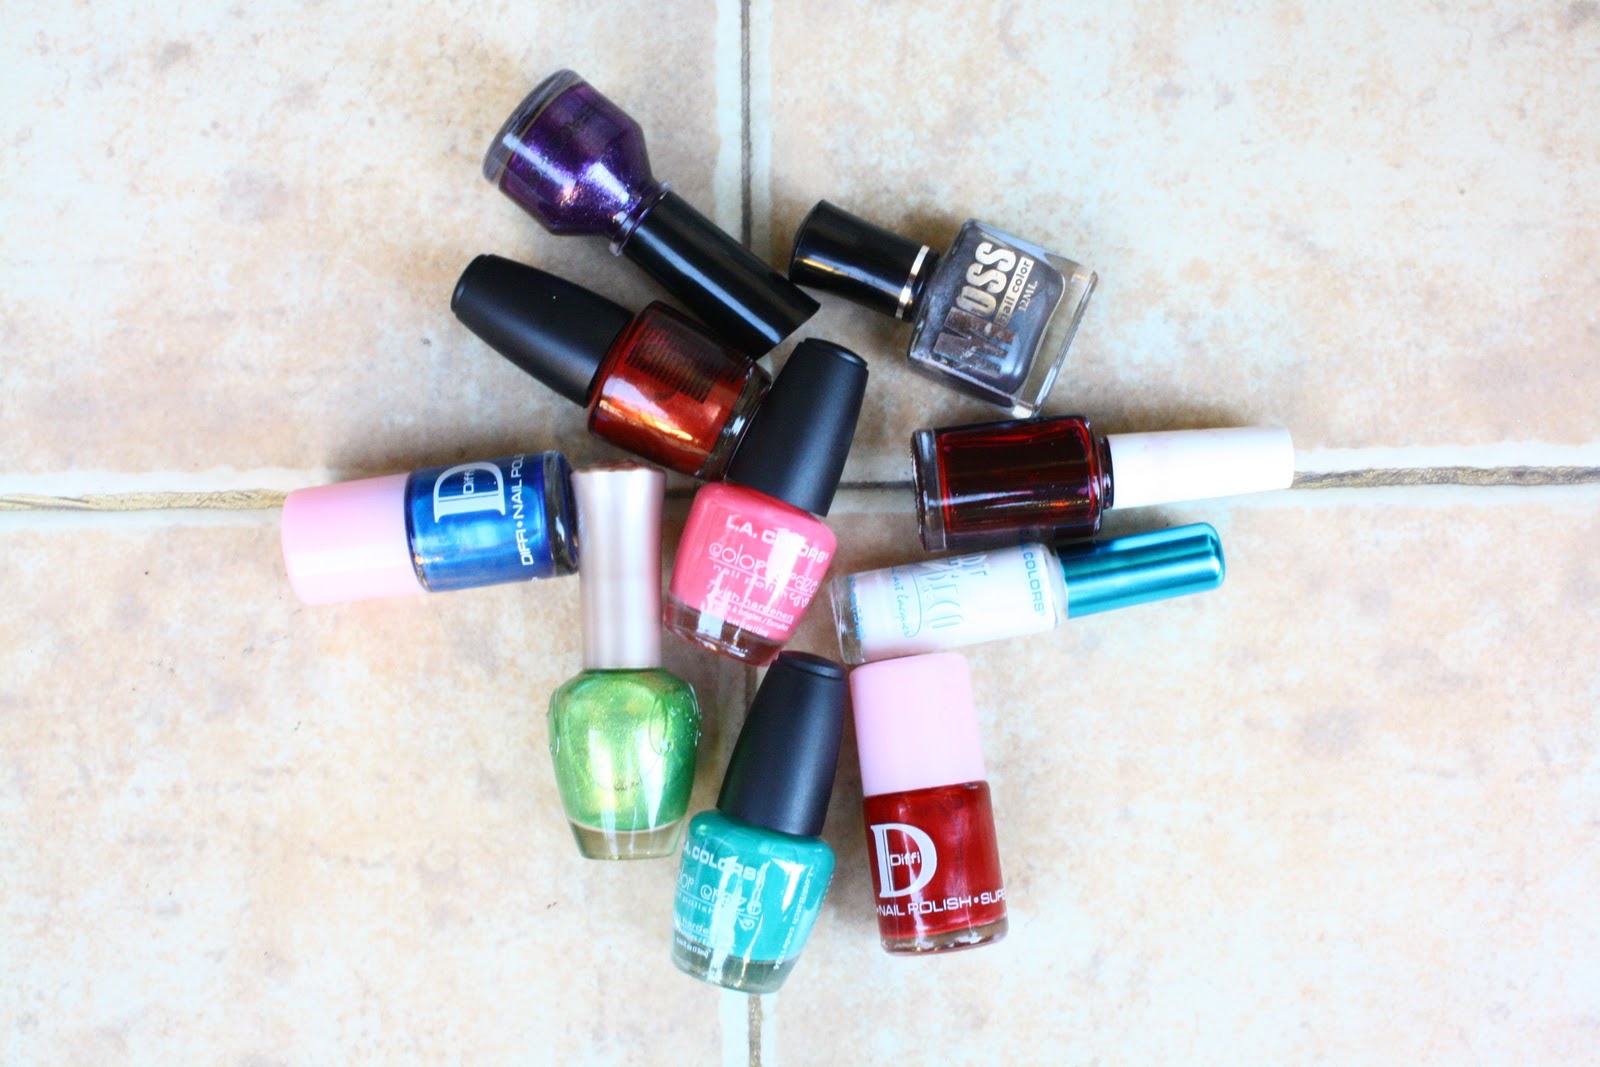
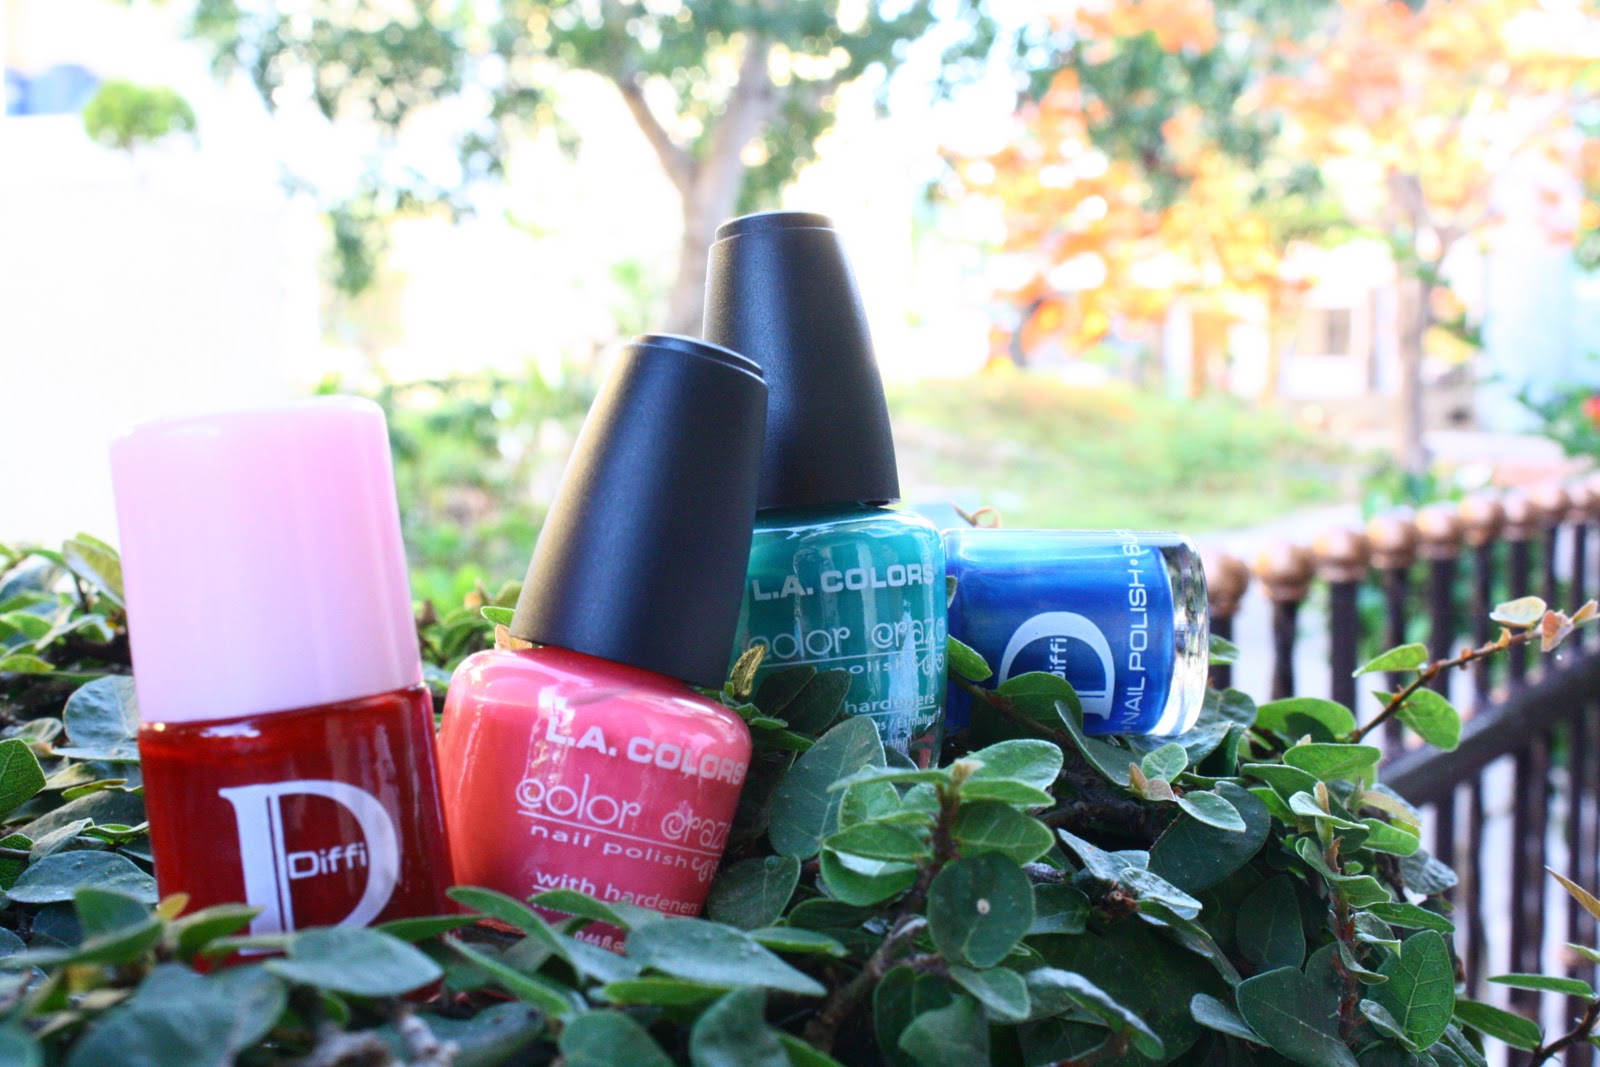 Choose a base.
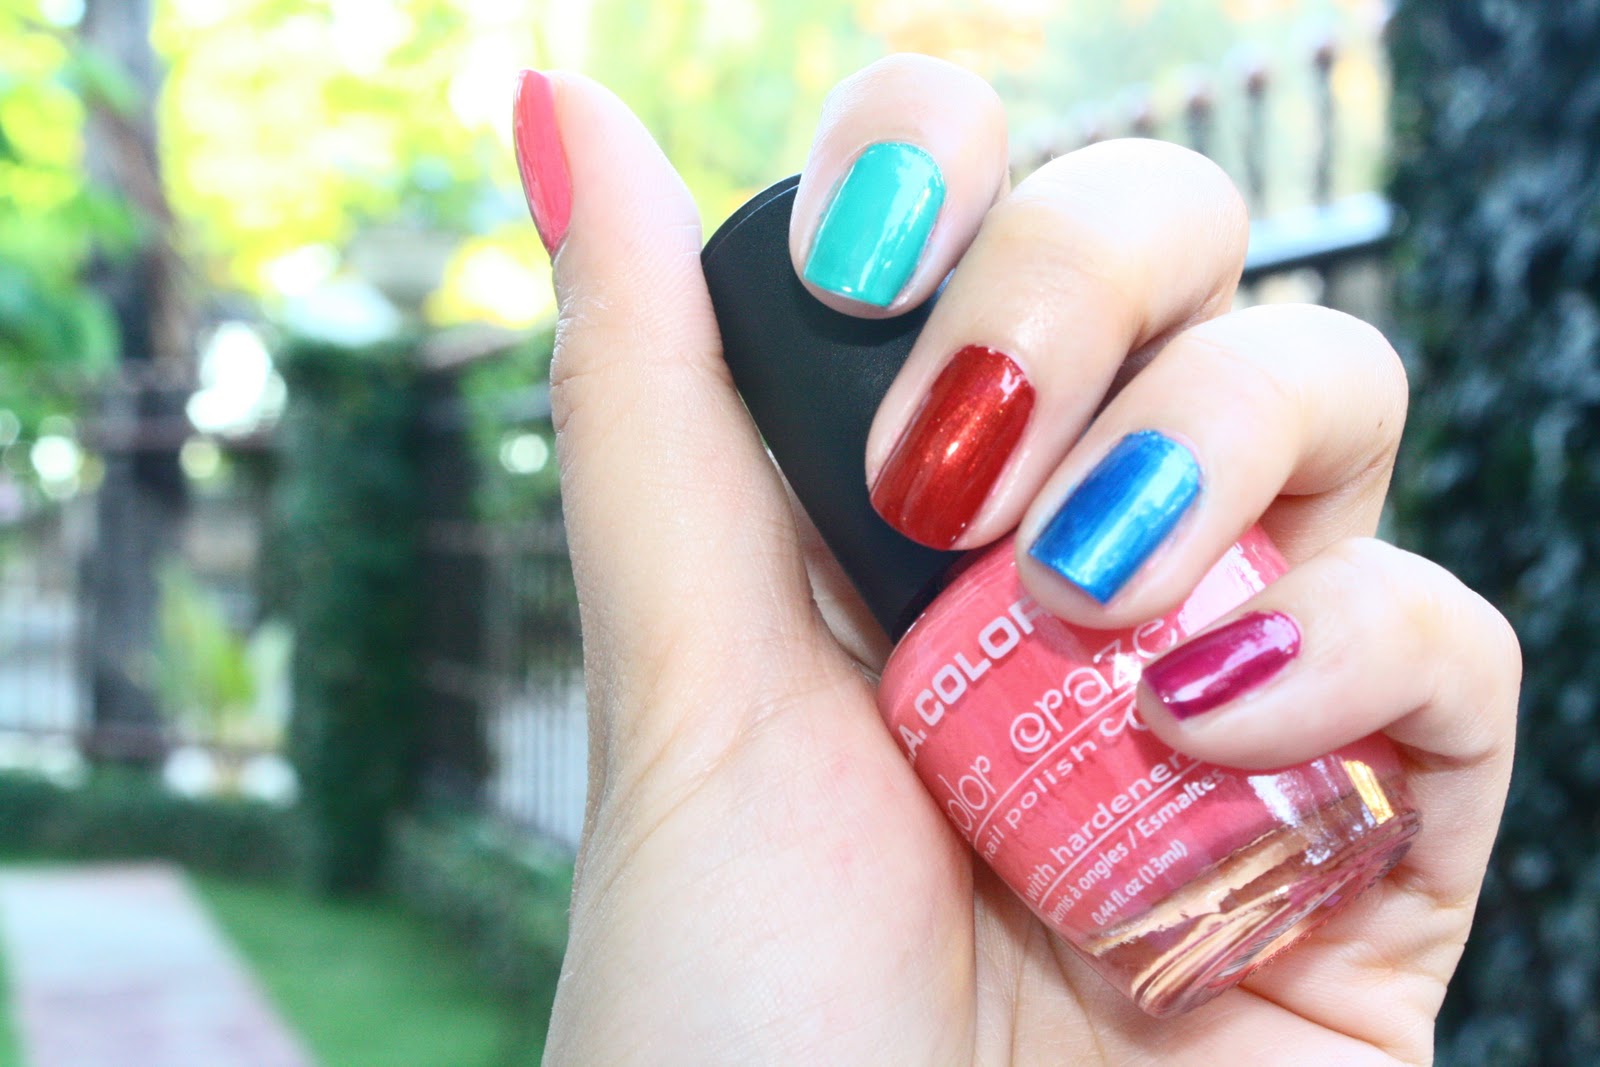 For comparison, I used 5 different colors.
Make sure base is completely dry before proceeding to the next step.
For comparison, I used 5 different colors.
Make sure base is completely dry before proceeding to the next step. 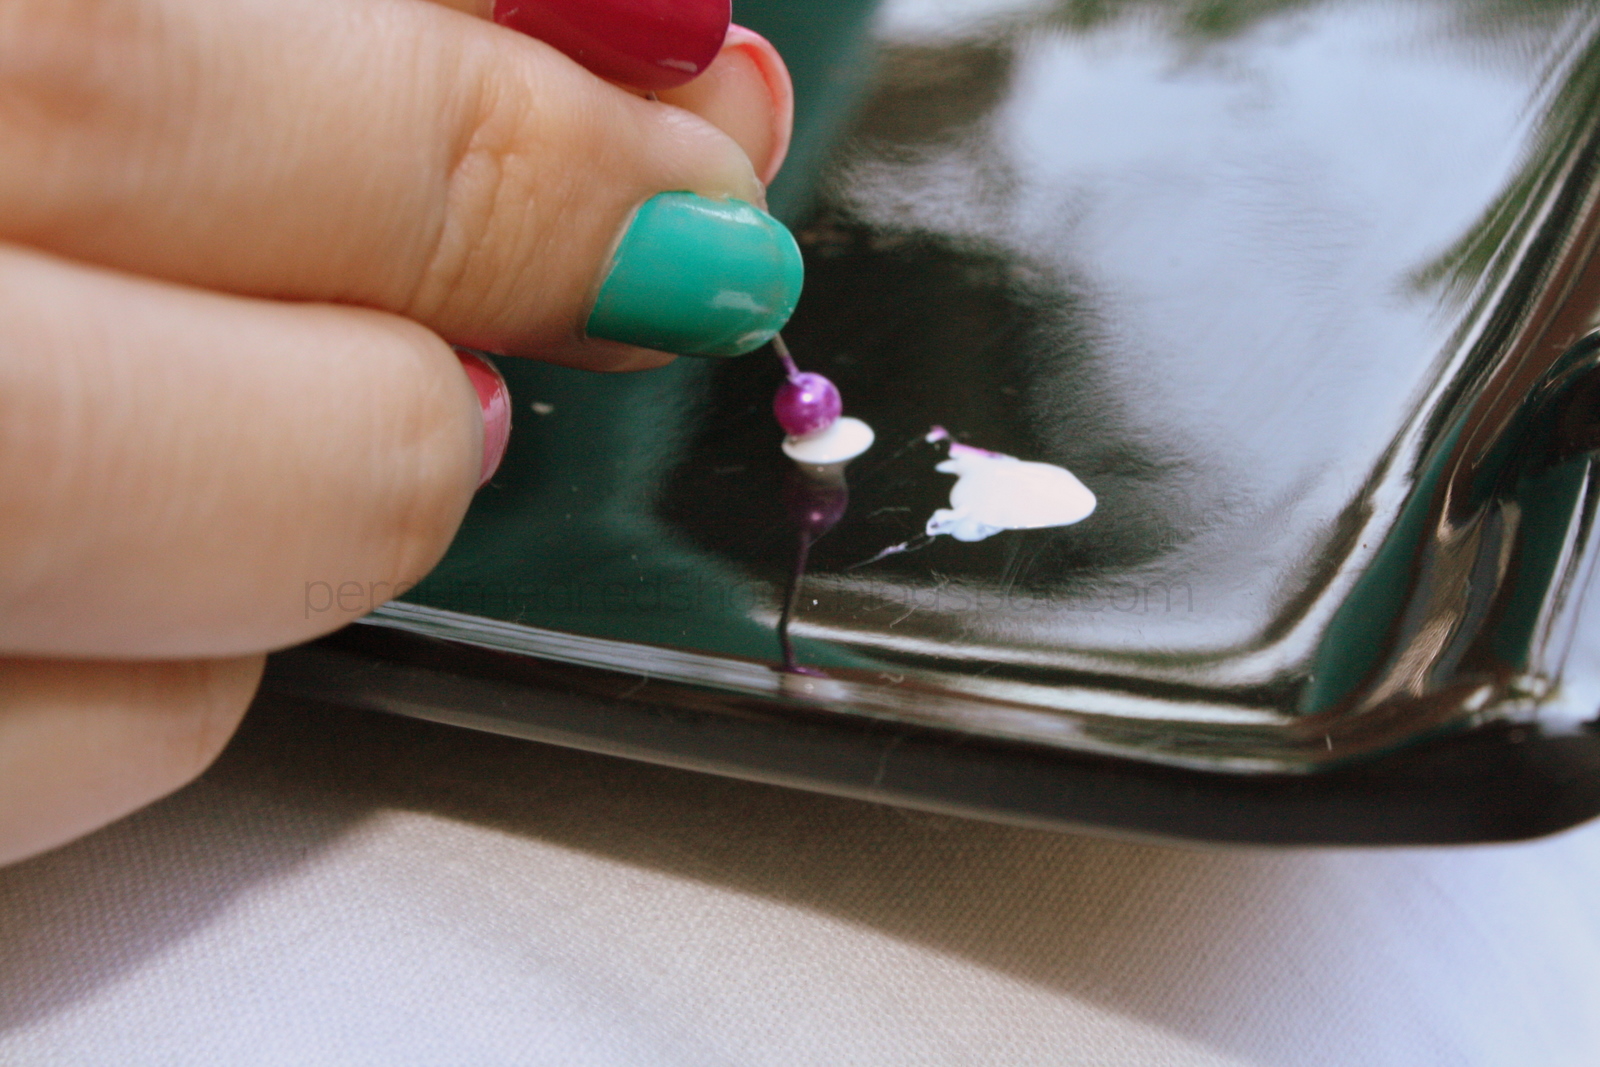 Using the round end of a pin, make 3 blobs of nail lacquer on your nail.
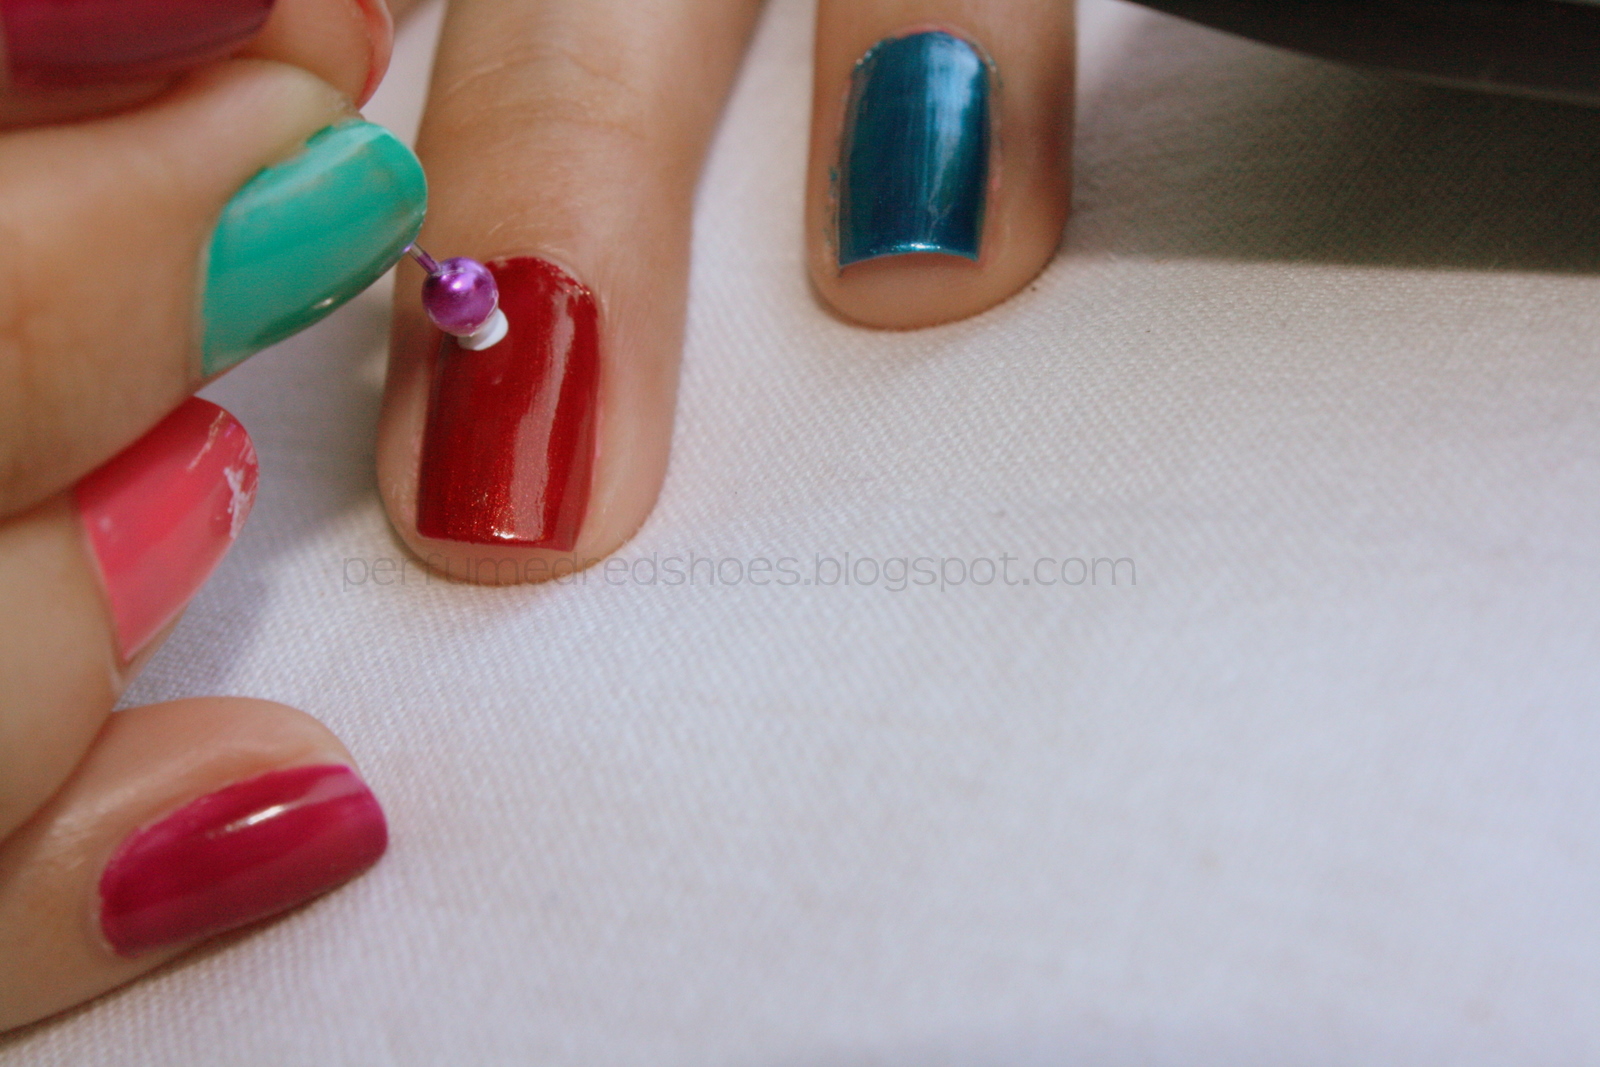
 Using the sharp end of the pin, run it across the blob in one careful motion to make petals.
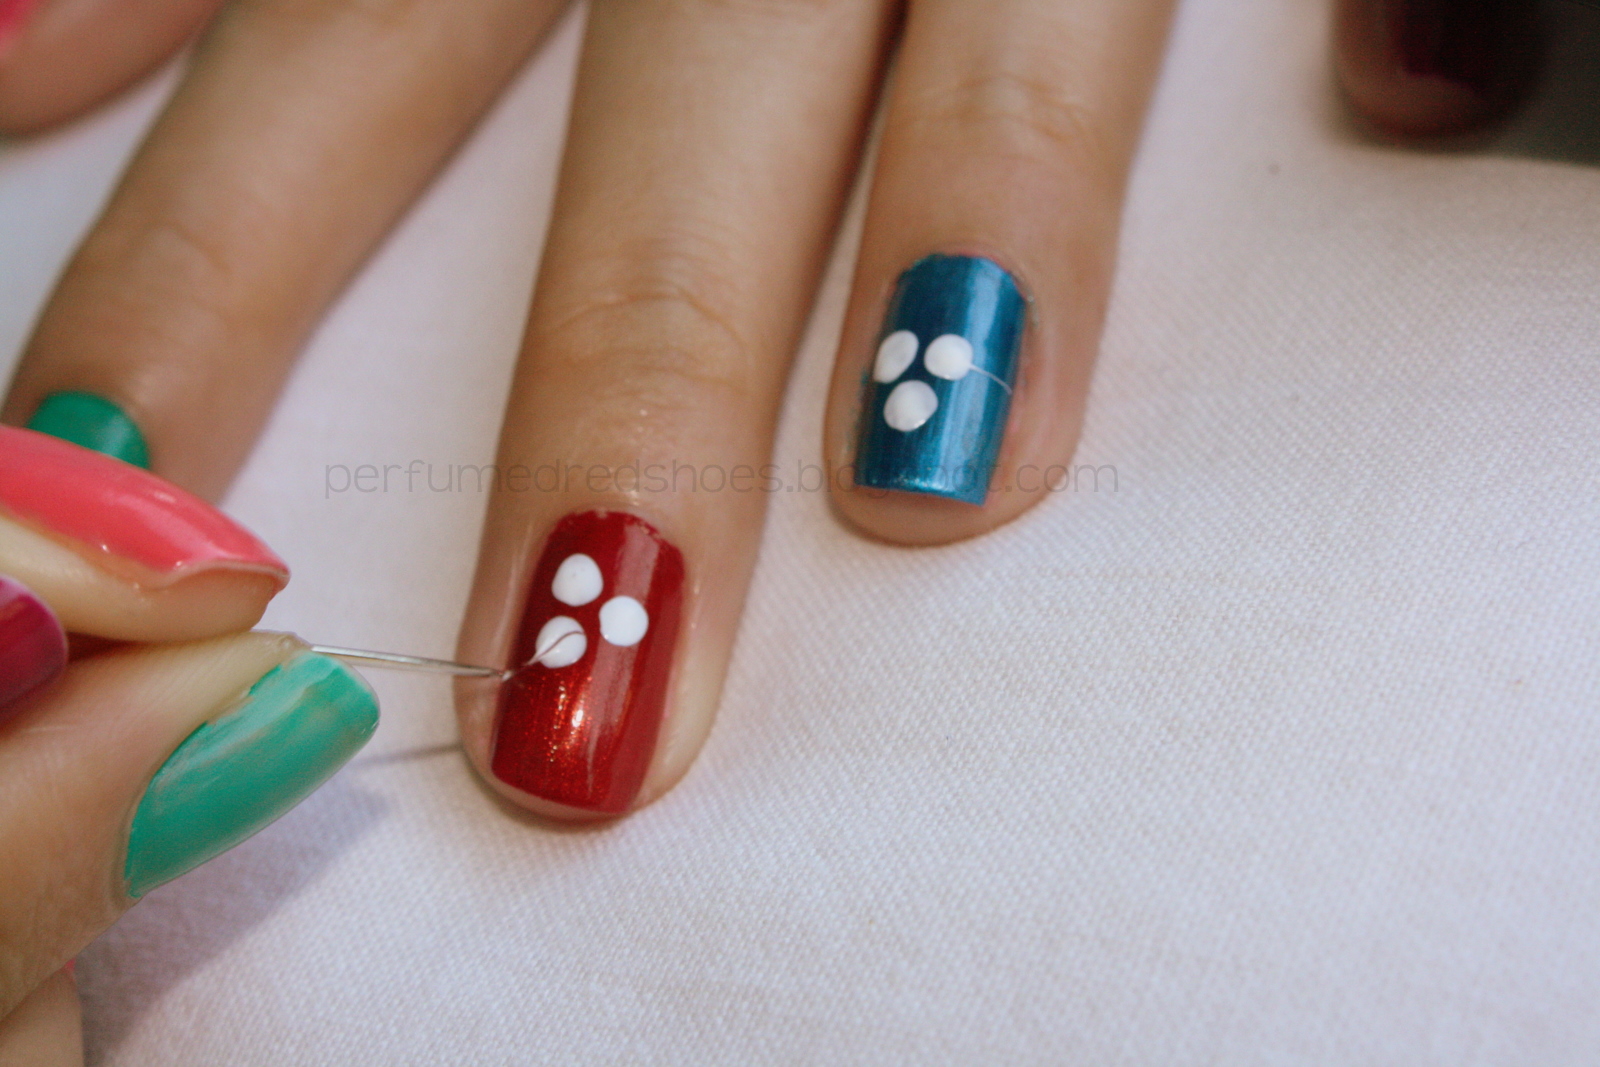

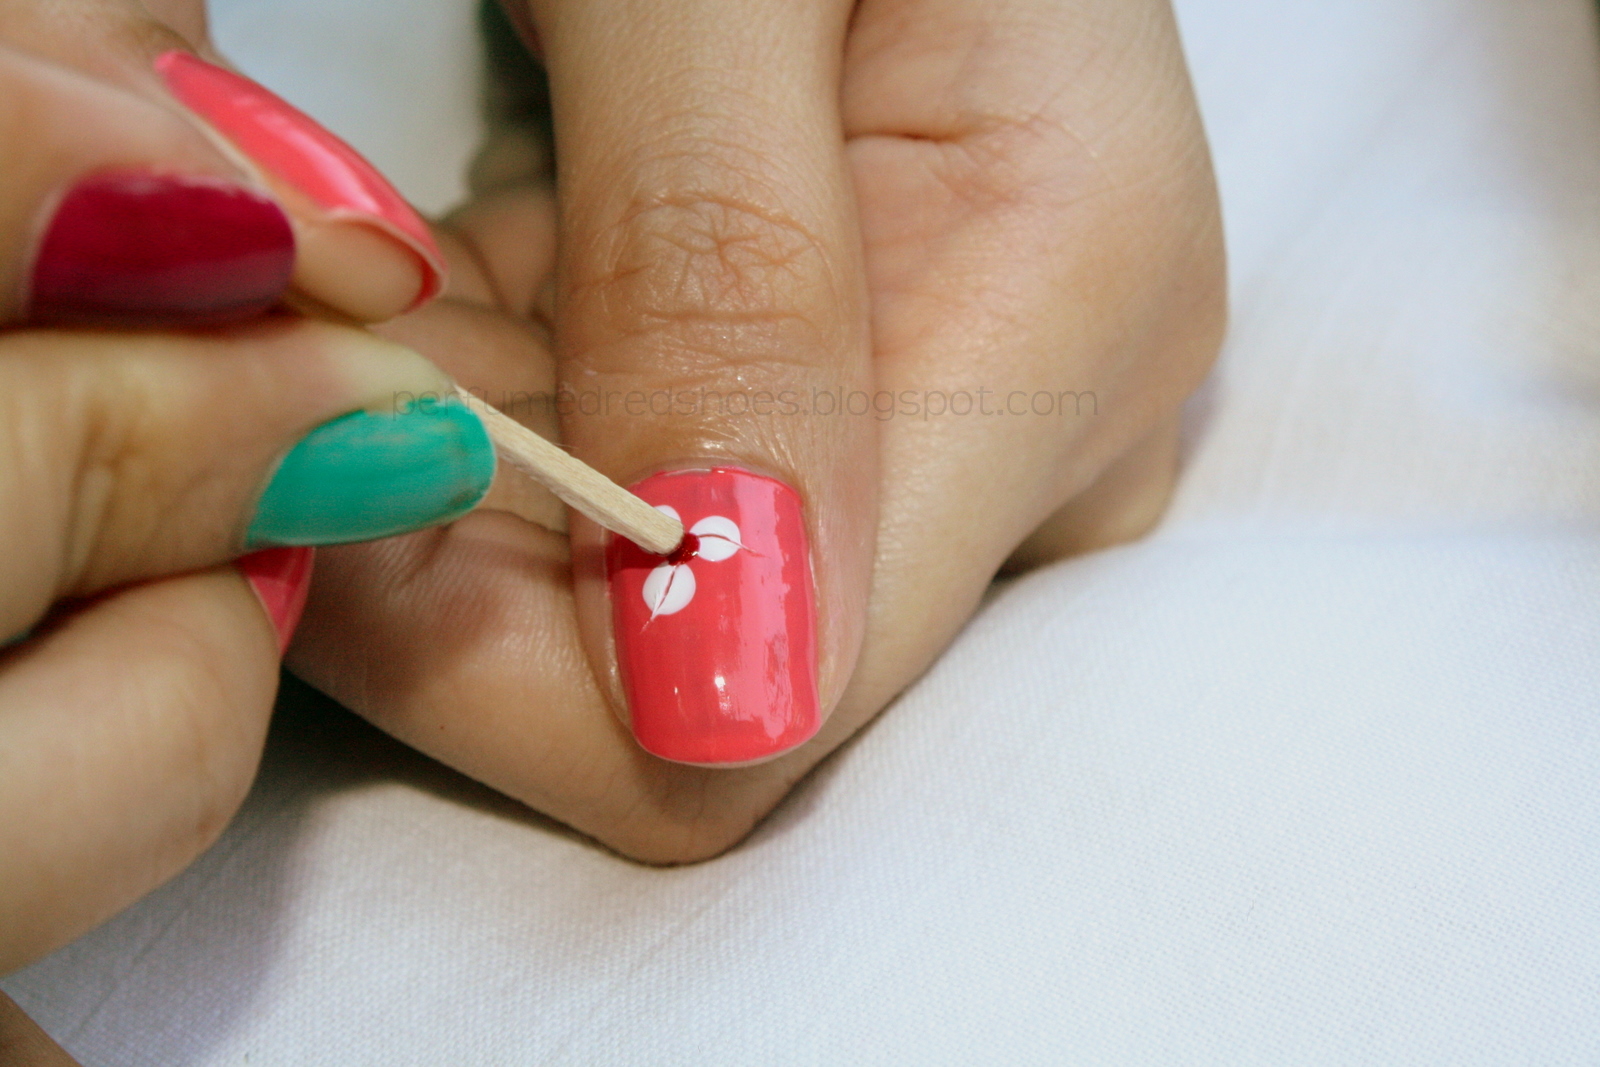
 Using a toothpick, apply a small amount of lacquer on the center of the petals

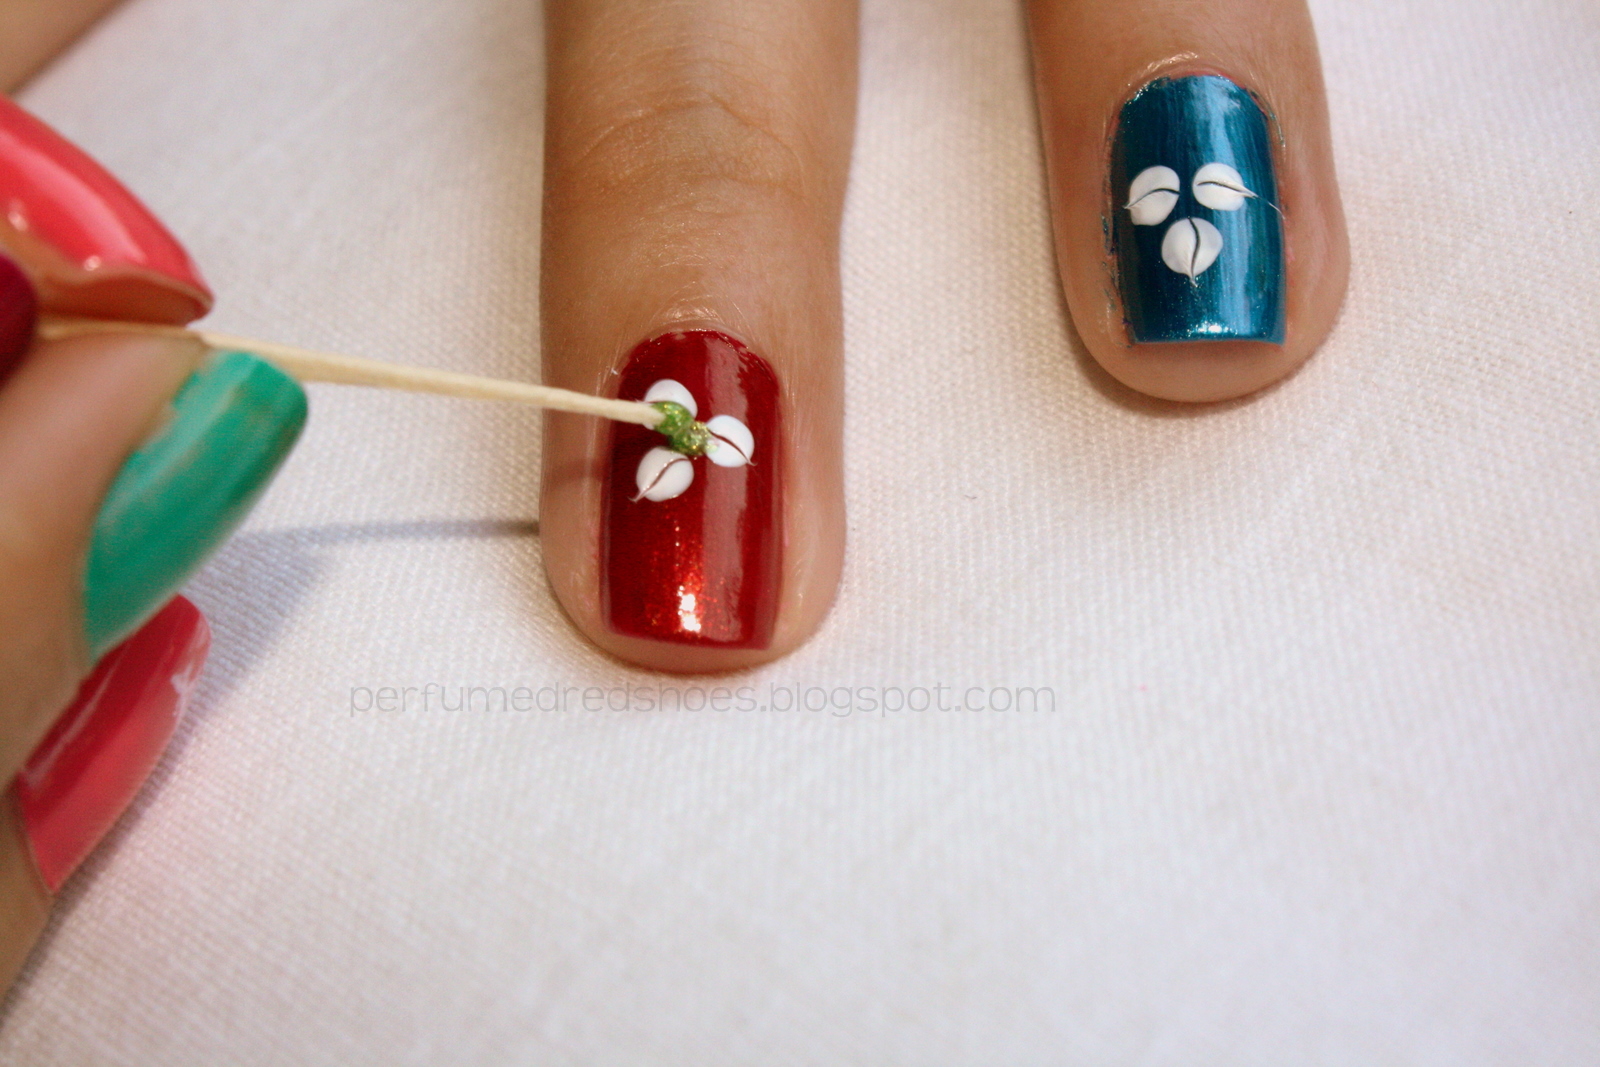
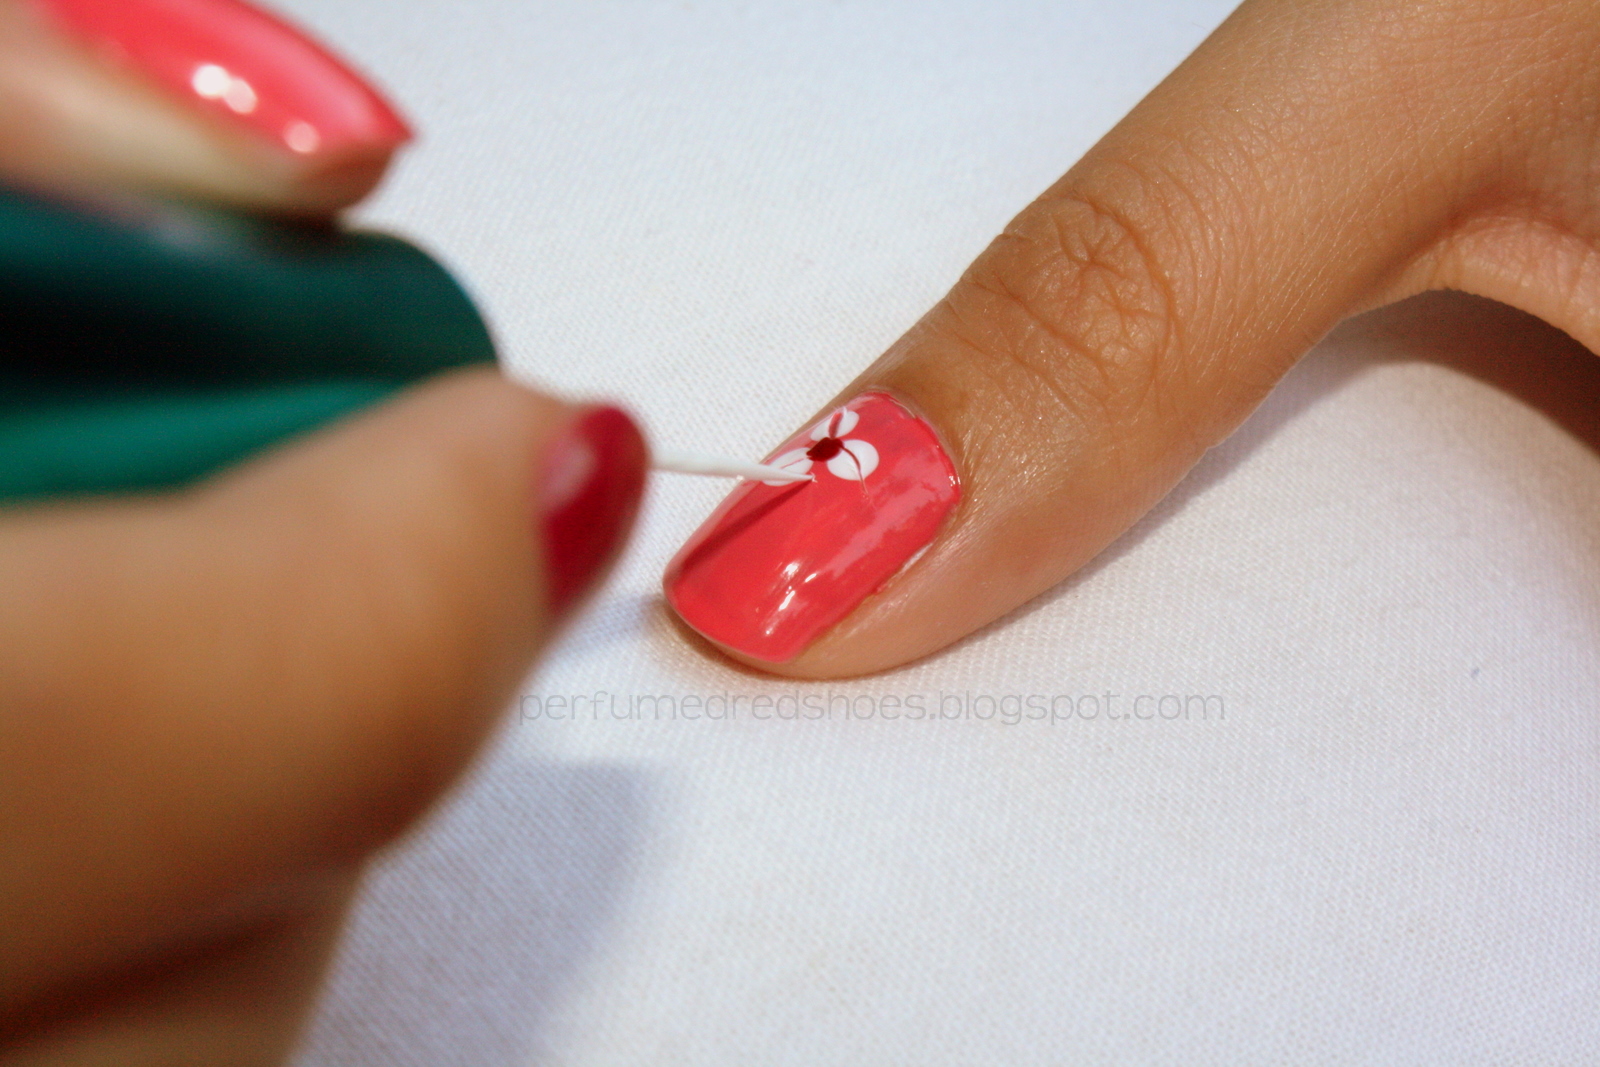
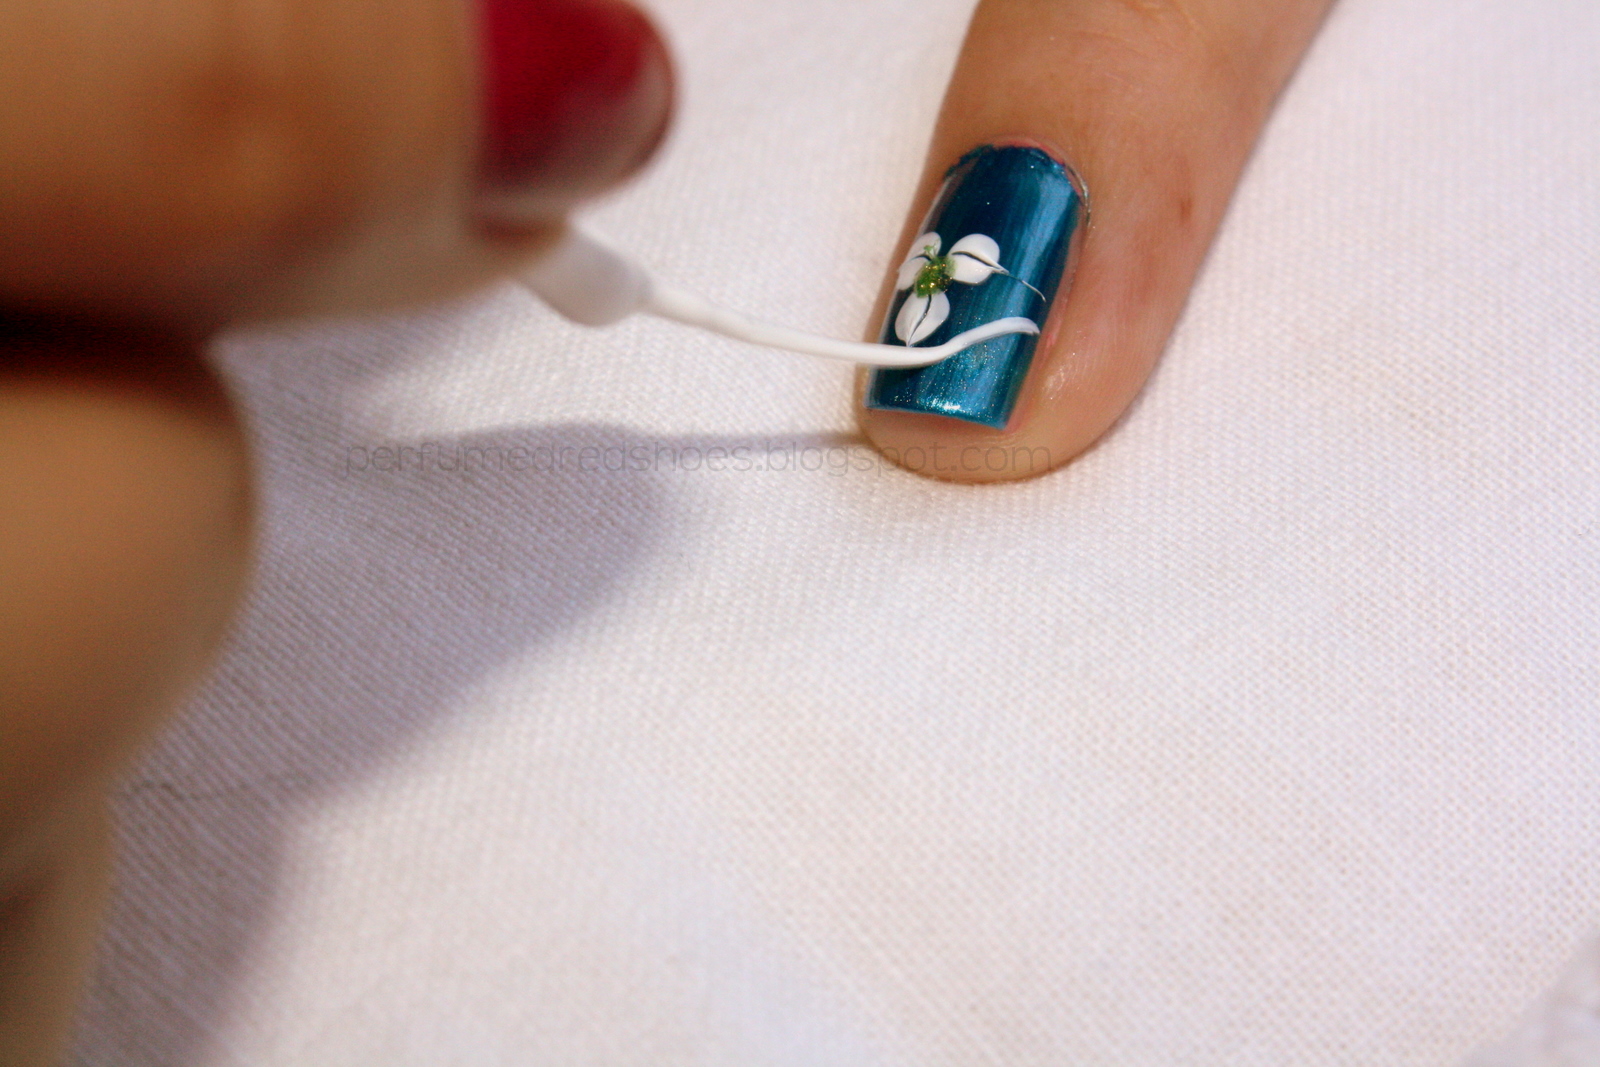
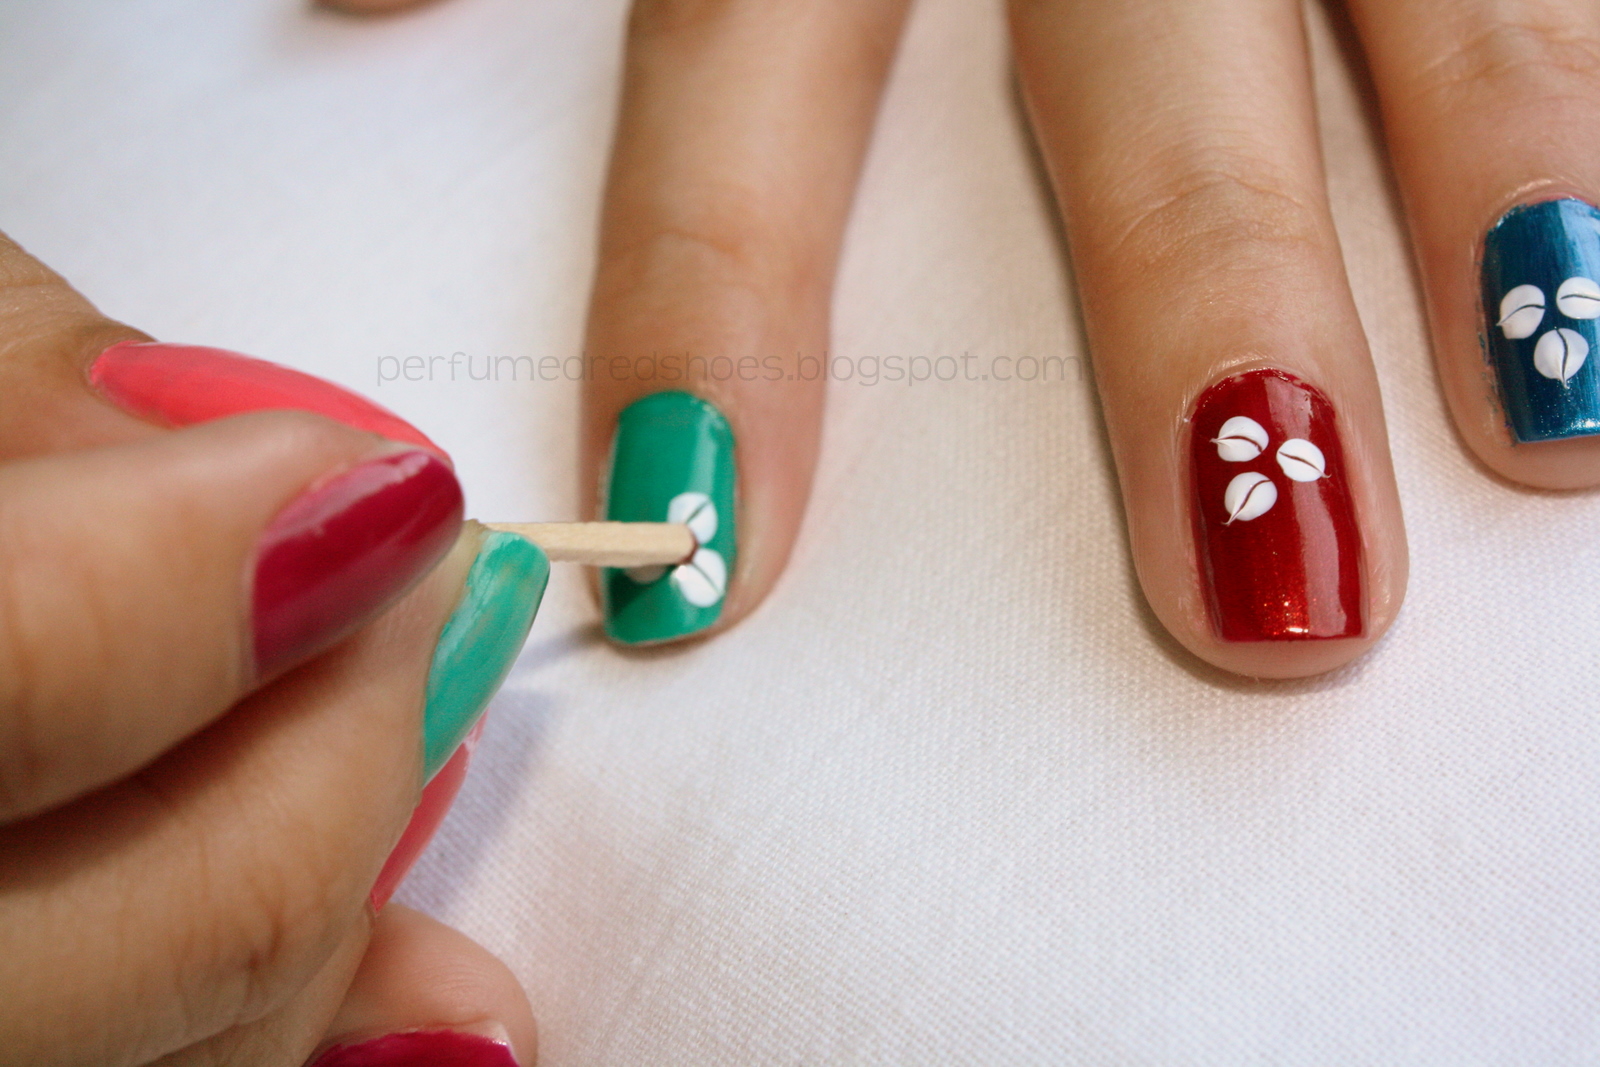 Make other pretty little designs with the use of a pointy tip brush. I'm using L.A. Colors Art Deco in White.
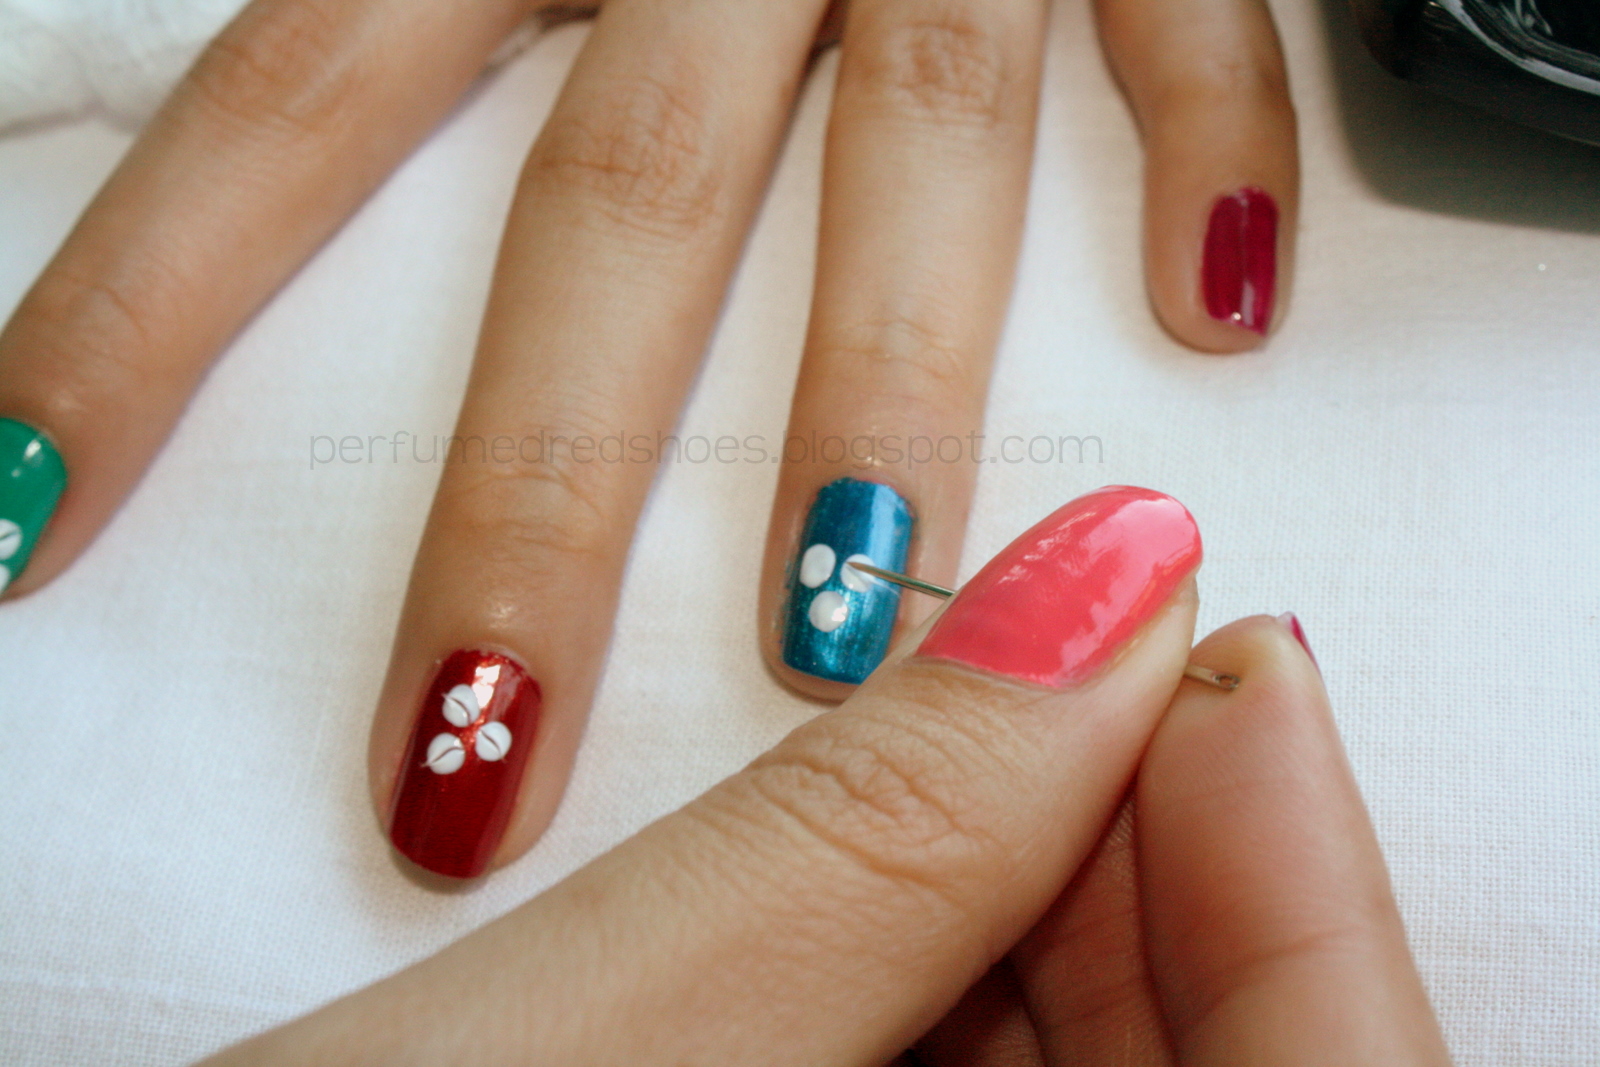
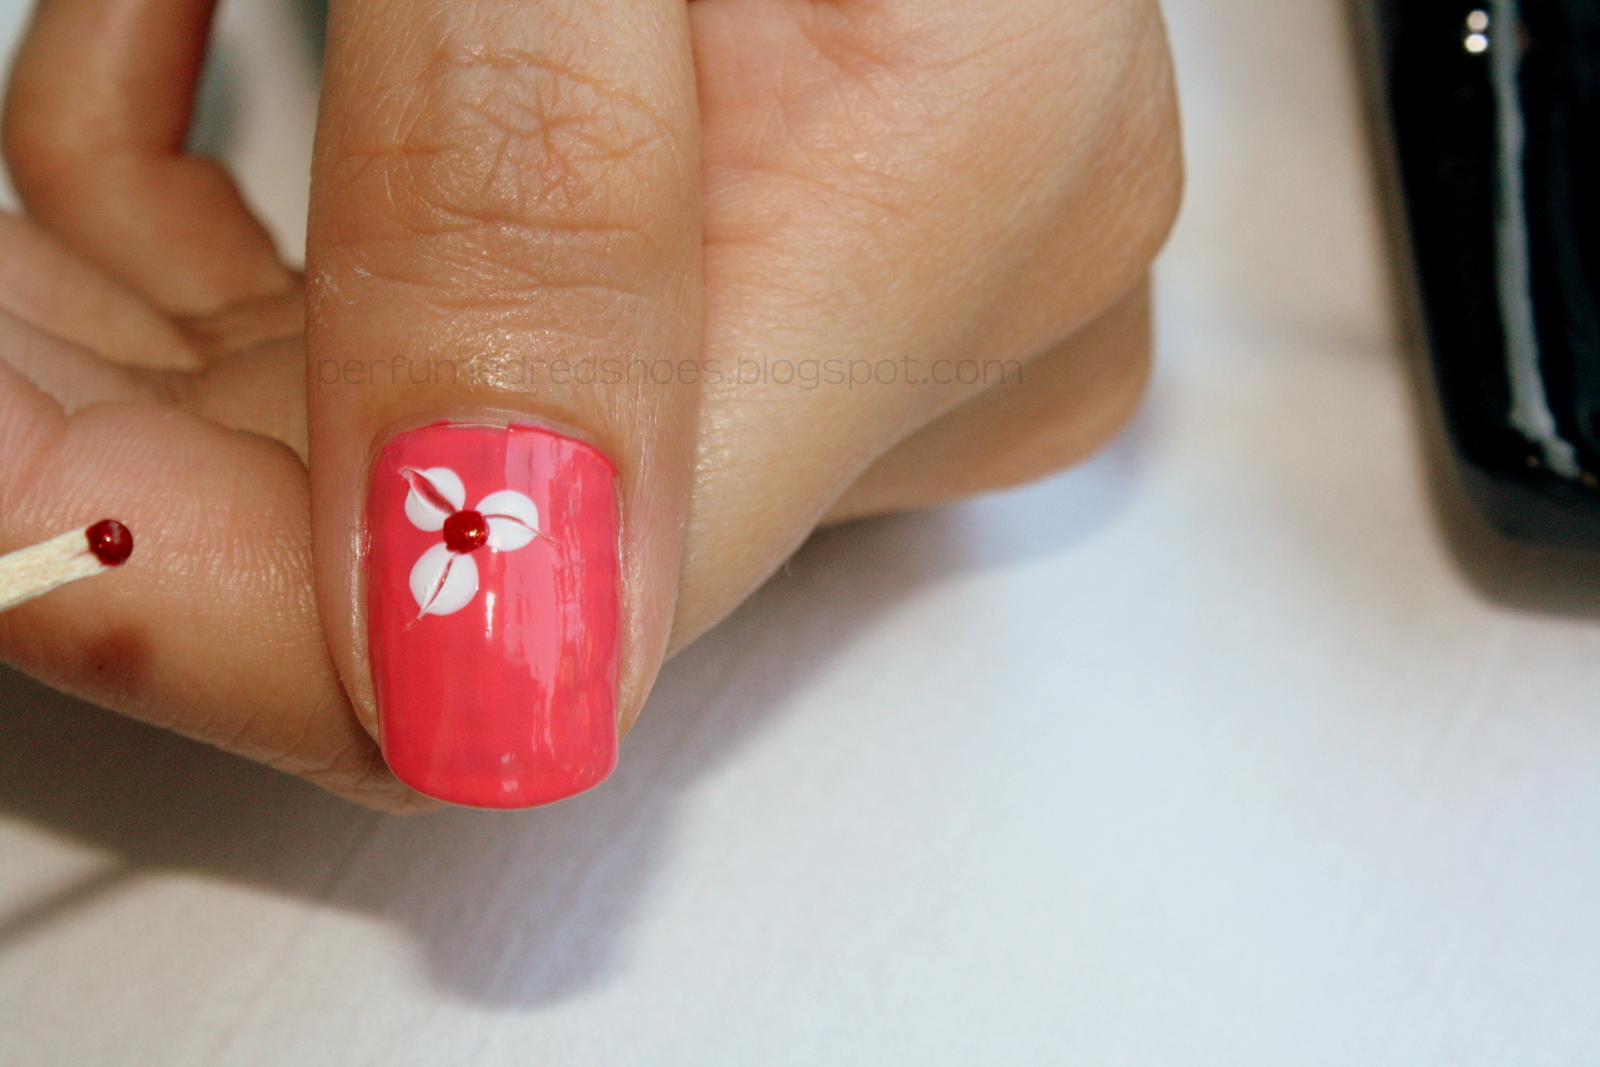
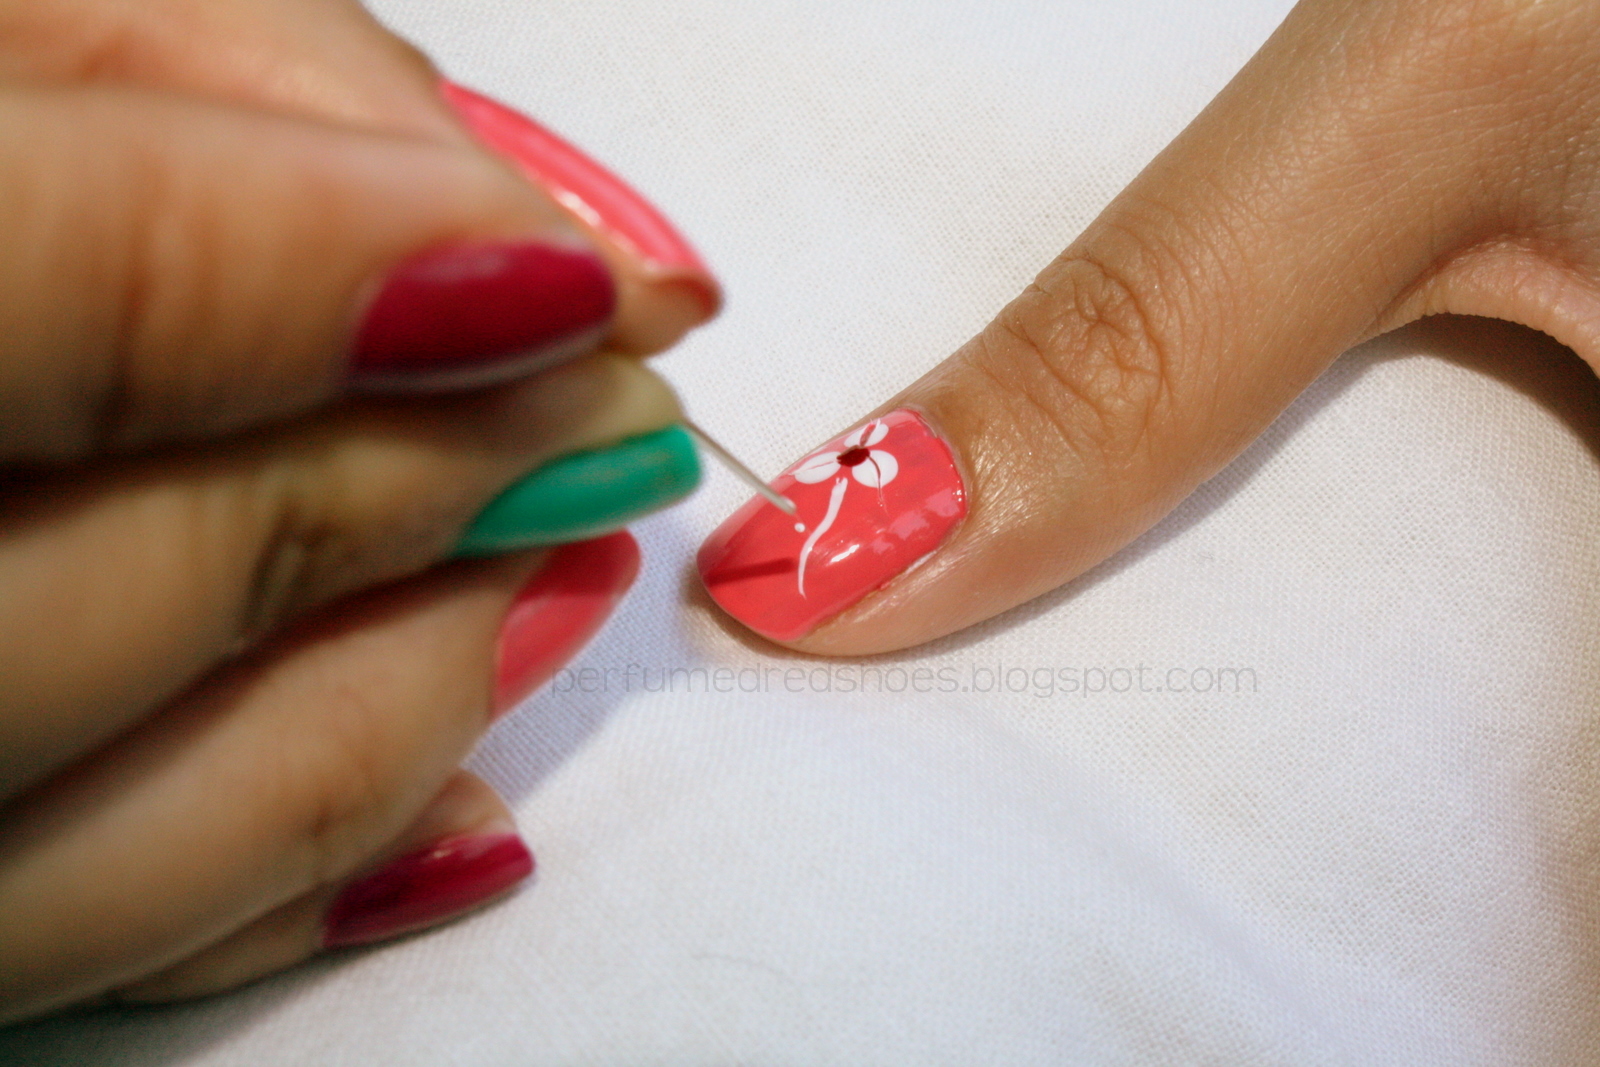
For the small dots, you can use the eye part of the needle.
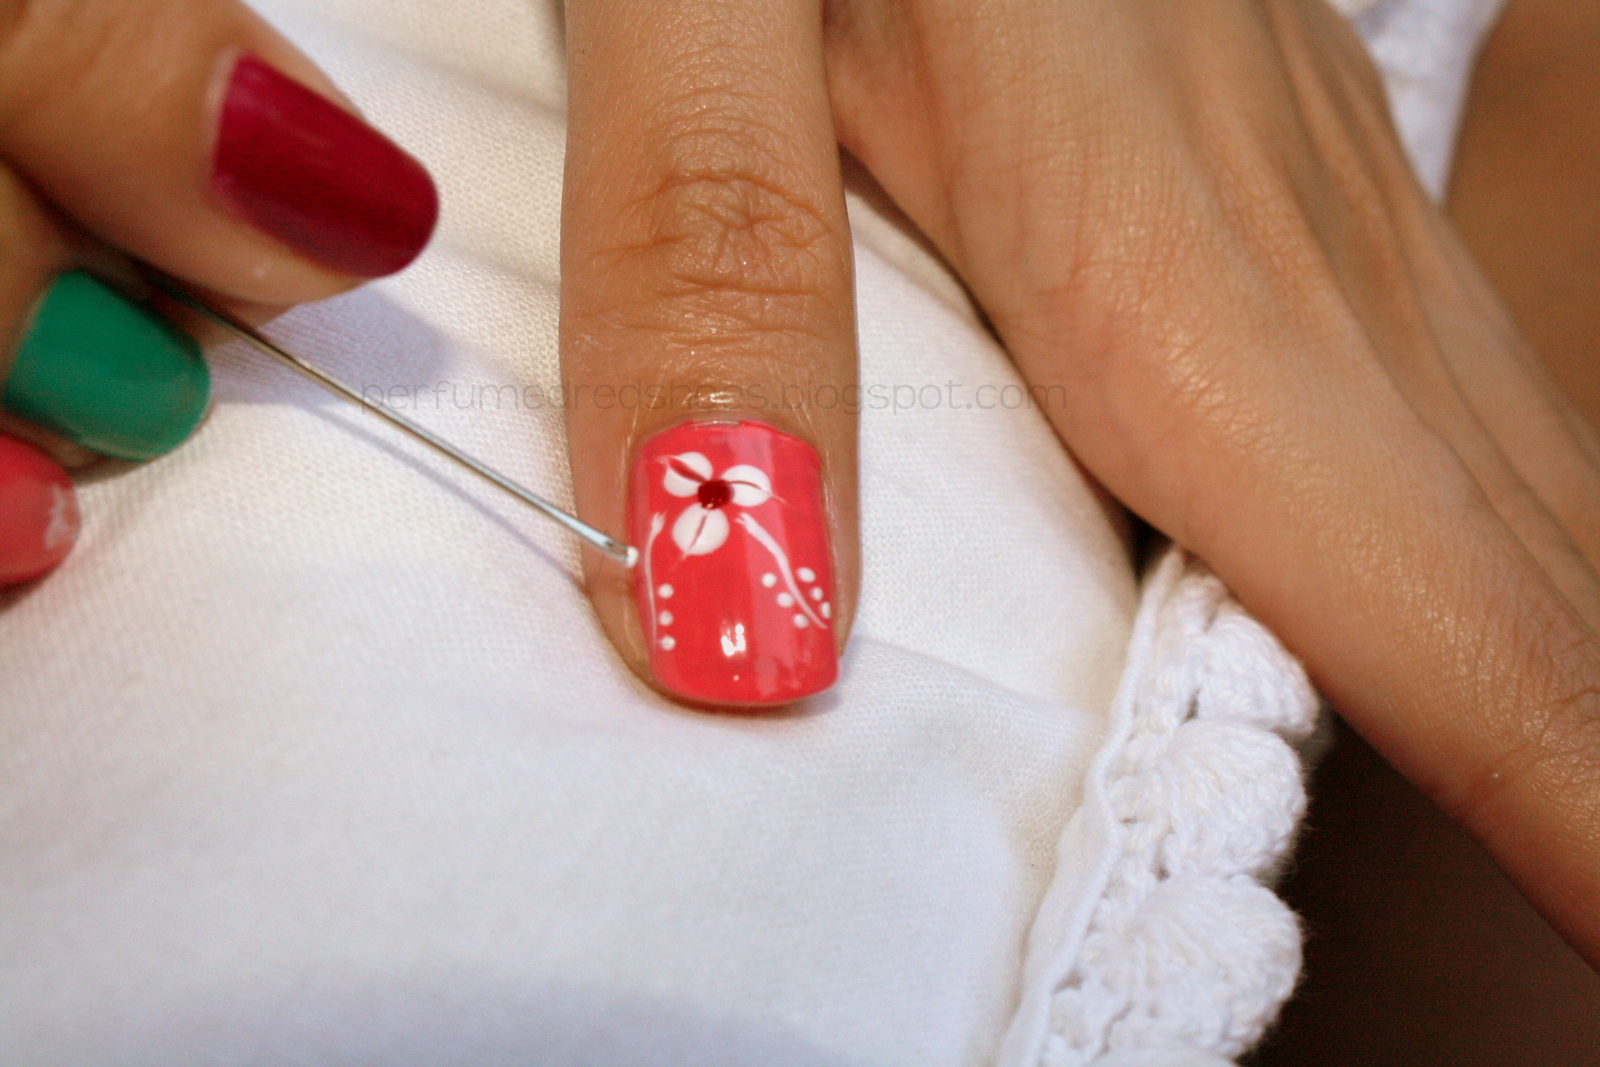
You can also stick pretty gems to your nails with the use of clear polish (this doesn't ruin your enamel unlike the nail art glue)
Apply top coat (clear or with glitters) for the finishing touch.
And...
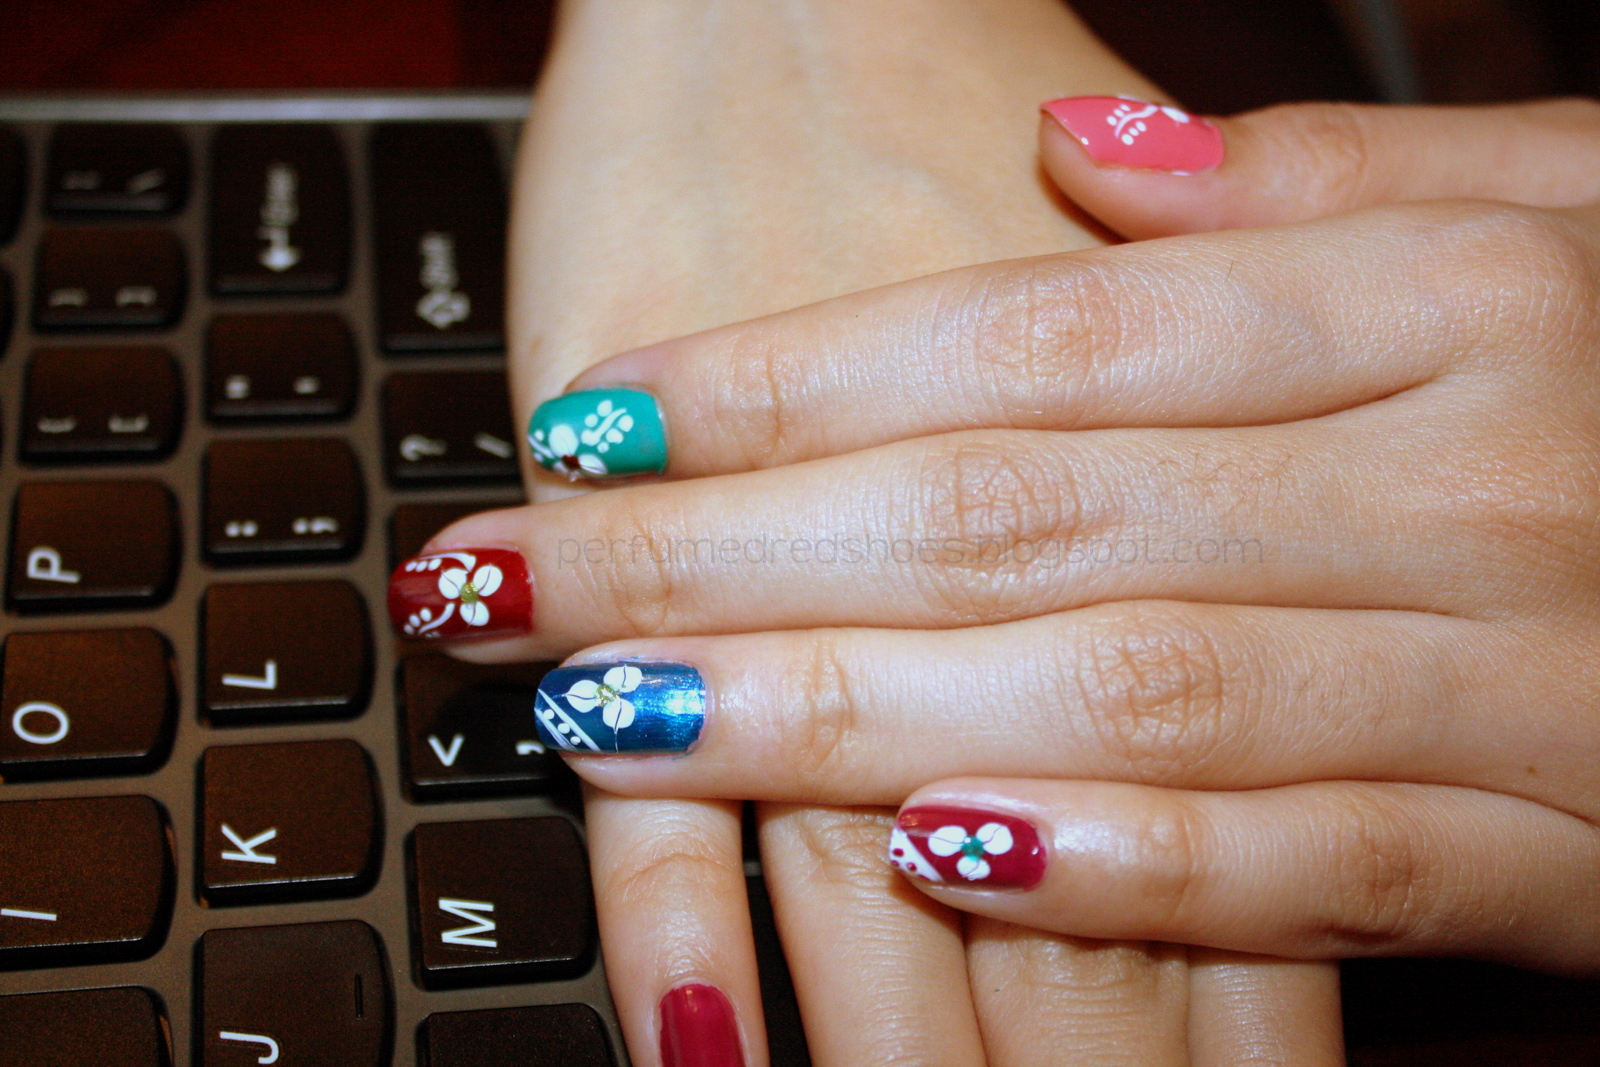
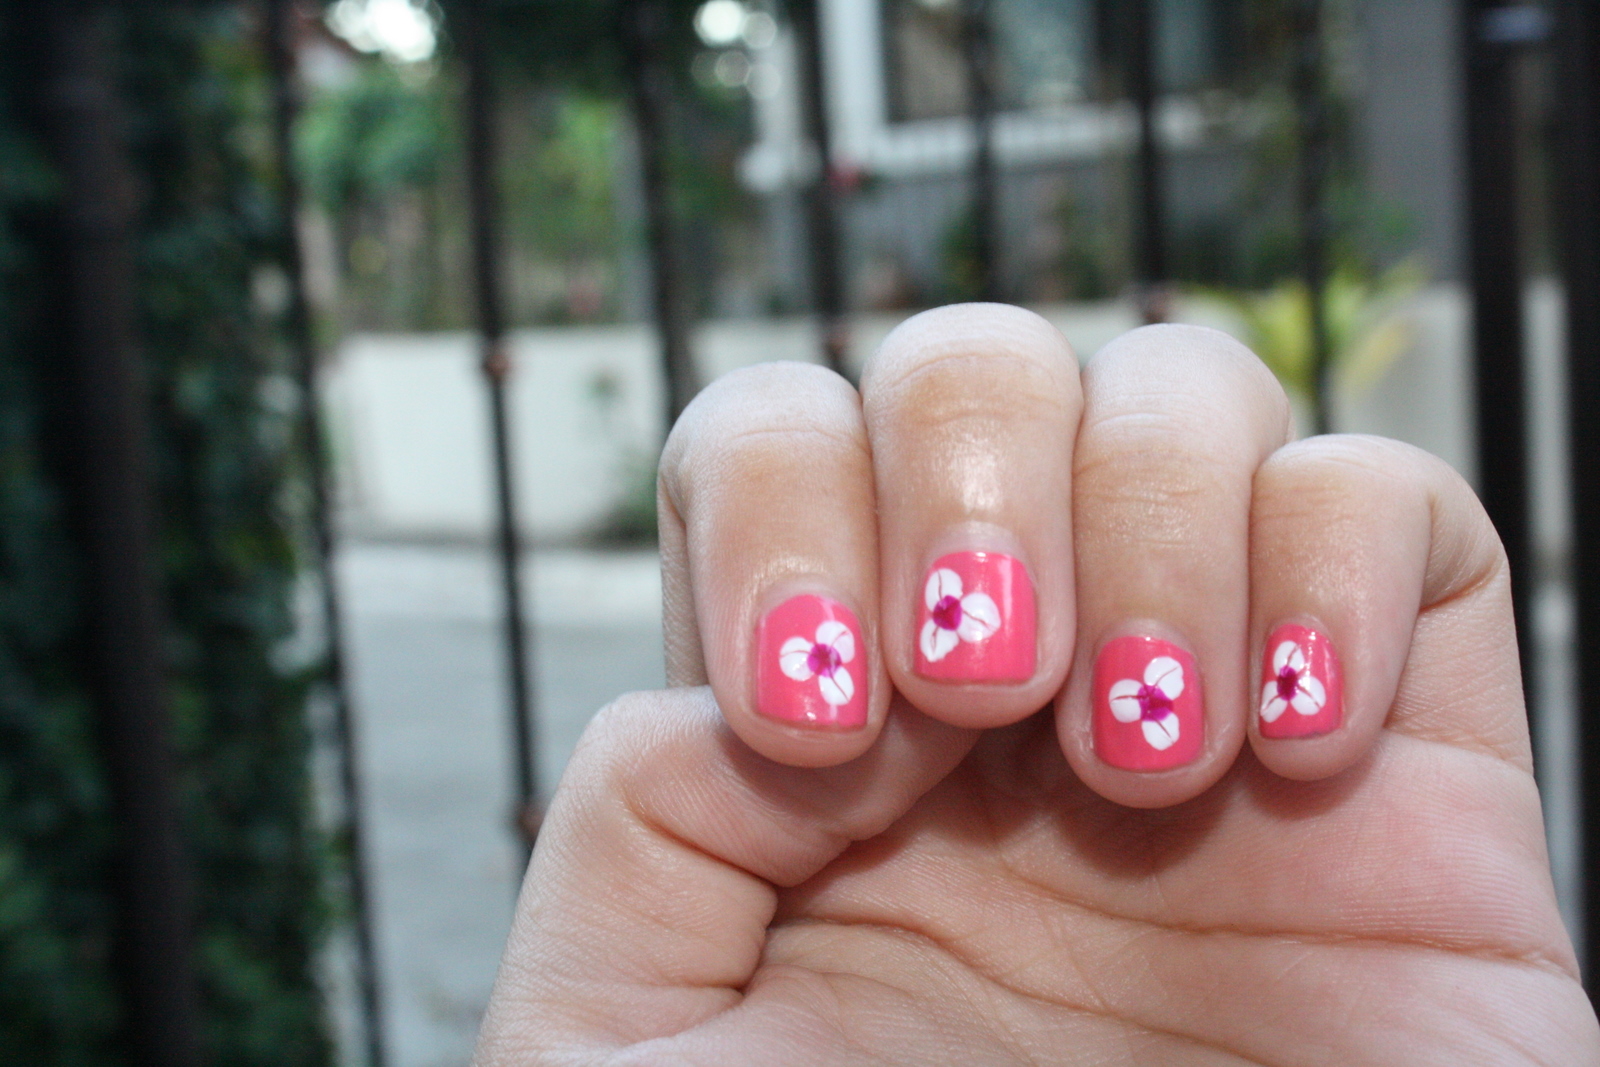
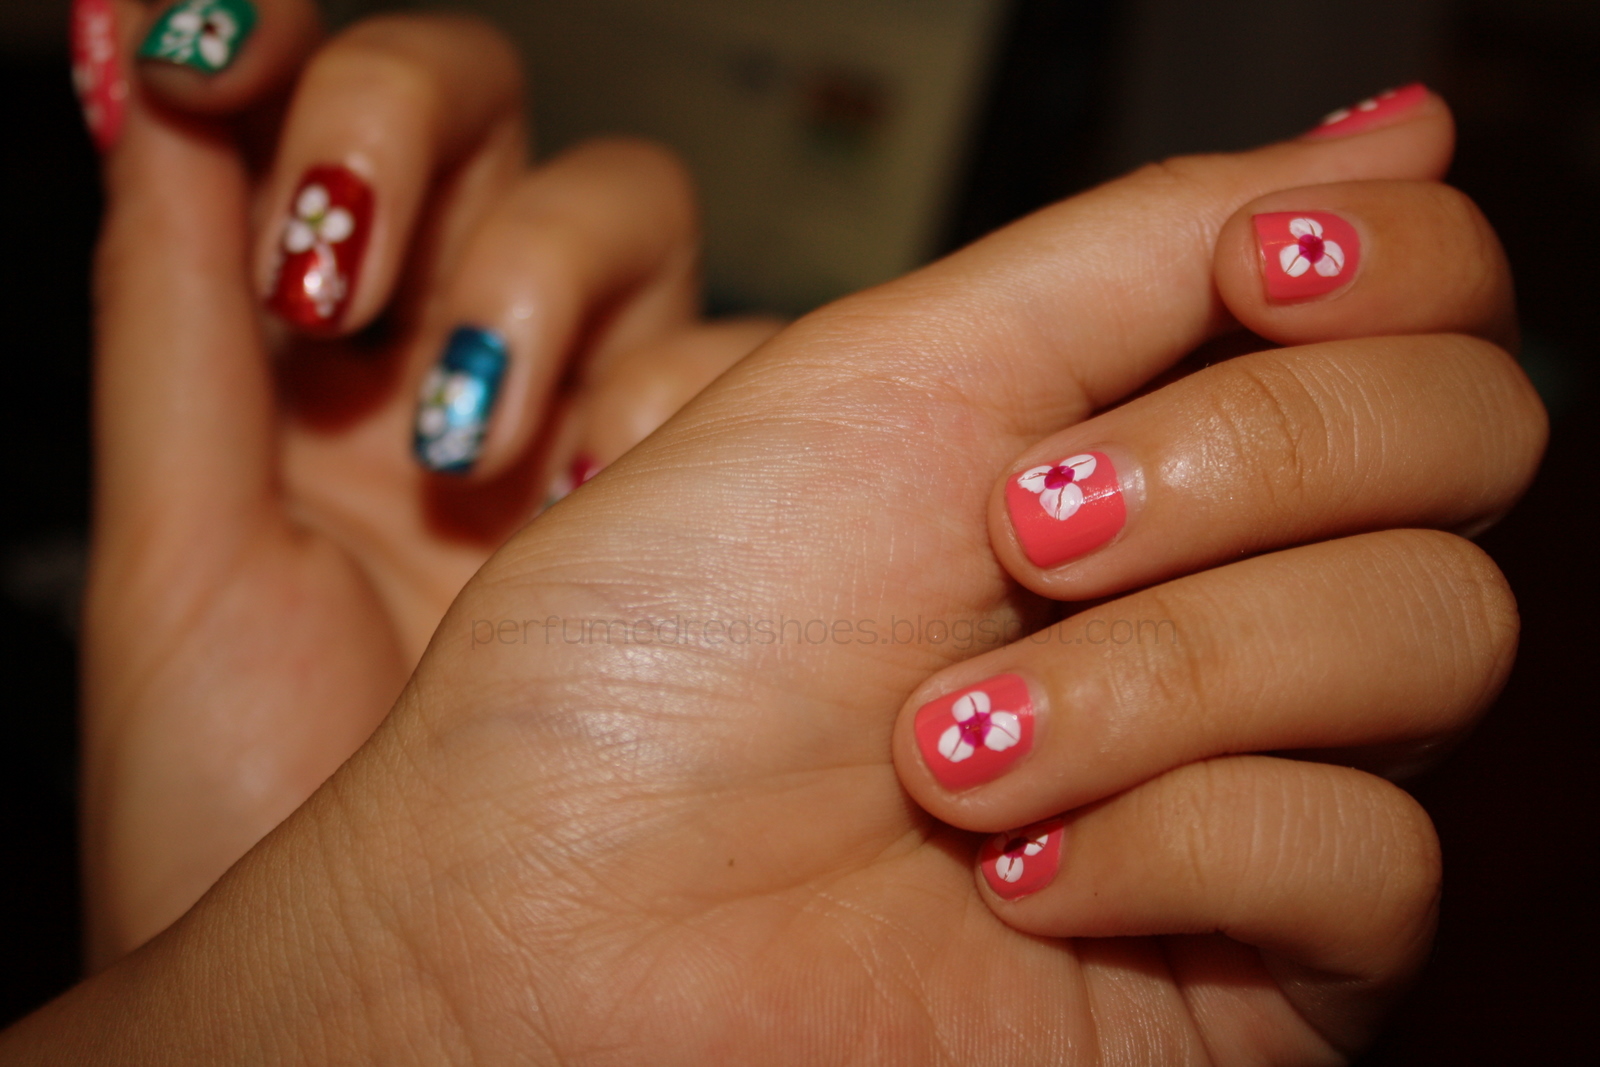
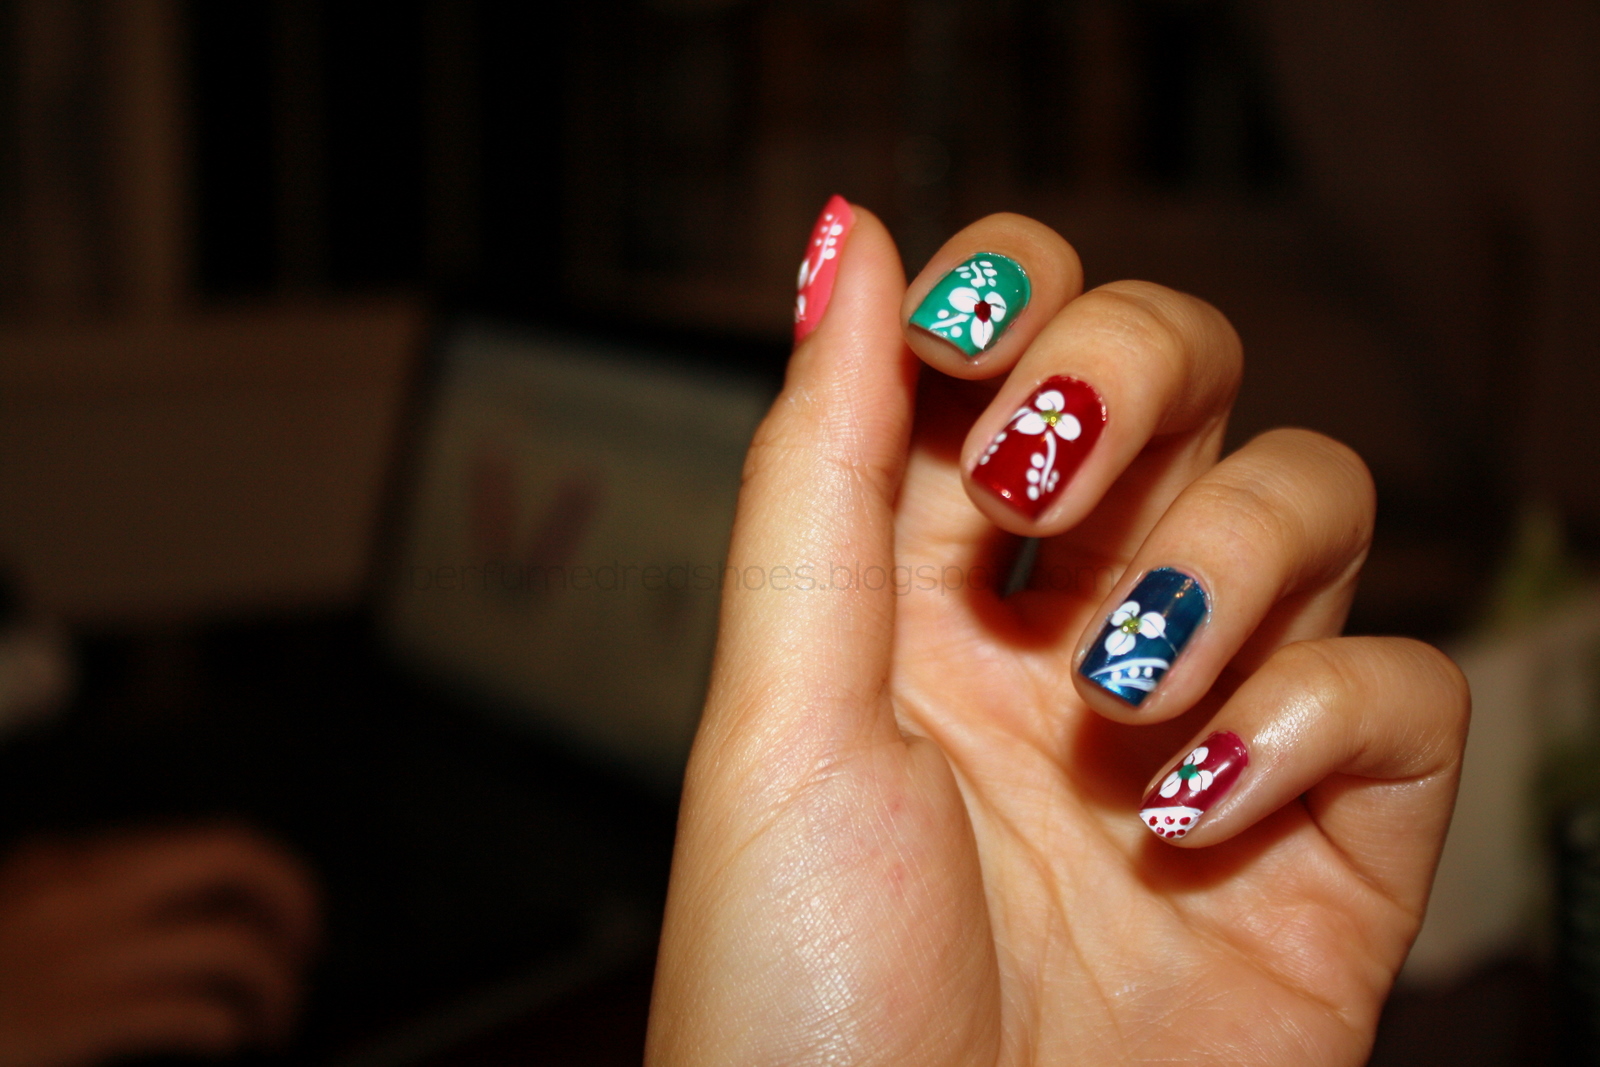 Tadaaa! END RESULT!
My sister's nail art in L.A. Colors Electric Charge NP405 base with white flowers. See how ridiculously small her nails are? had a hard time making making those flowers. haha!
Tadaaa! END RESULT!
My sister's nail art in L.A. Colors Electric Charge NP405 base with white flowers. See how ridiculously small her nails are? had a hard time making making those flowers. haha!
 So there ya go! Mini tutorial for making 'em pretty nails.
Tadaaa! END RESULT!
My sister's nail art in L.A. Colors Electric Charge NP405 base with white flowers. See how ridiculously small her nails are? had a hard time making making those flowers. haha!
So there ya go! Mini tutorial for making 'em pretty nails.
Did I confuse you enough?
xo!


So this is a super late post. I wore this to our Good Friday road trip down south. My sister keeps on saying that this, in our dialect, is pan.os already ( p…
I said to myself that only after I receive my orders from GoJane this month will I allow myself to buy ANYTHING, be it from the mall or the WWW, necessary or …
Subscribe to:
Posts (Atom)